

Behind the Etching: Blue Violets
Nov 17, 2026
The final post in my Behind the Etching series: Blue Violets, from the line etching to the copper plate itself.
The Inspiration
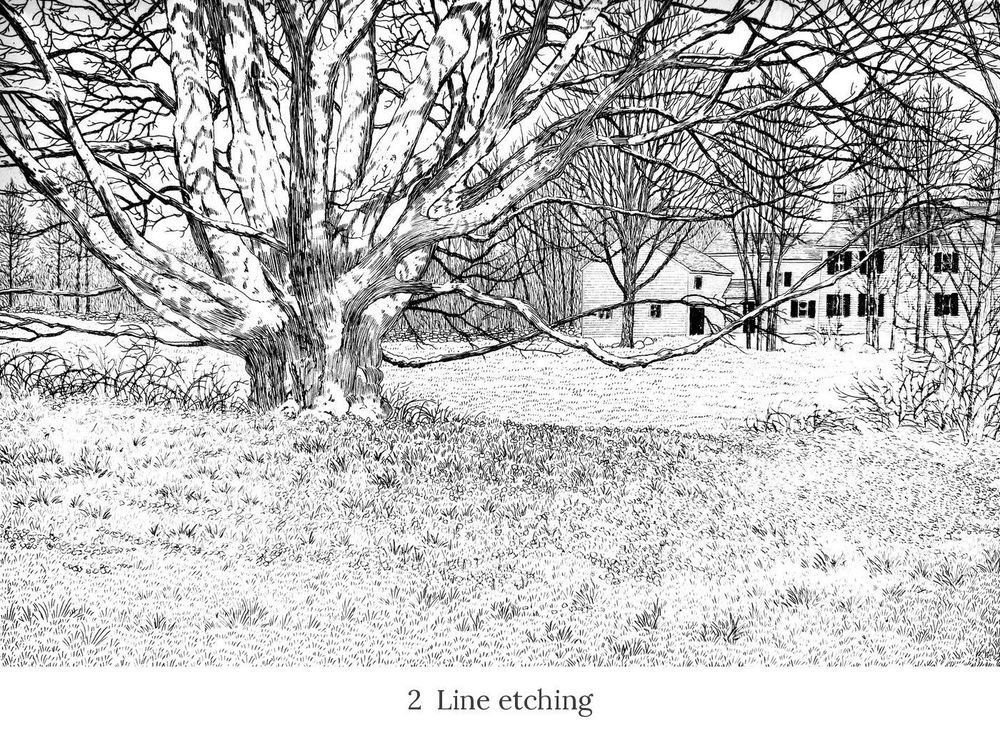
"What a beautiful tree!" I said to John as we drove down a country road near Westminster. The leaves had not yet emerged — and I could admire the shadows on the beautiful limbs. It wasn't until I got much closer that I saw a profuse scattering of violets in the grass near my feet. This was the inspiration for my Blue Violets etching.
Planning the Tones
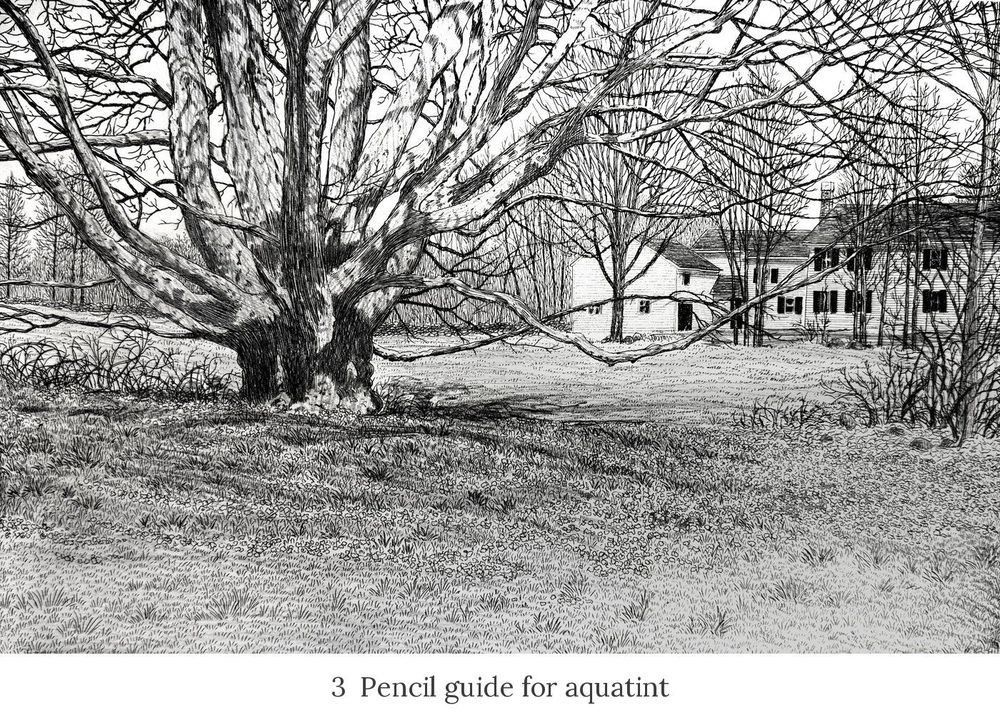
I sketched with pencil on a print of the line etching, using it as a rough guide for the tones I wanted the plate to print by etching with the aquatint technique. (I explain the aquatint technique in my Pemaquid Light post.)
The Print After Aquatint
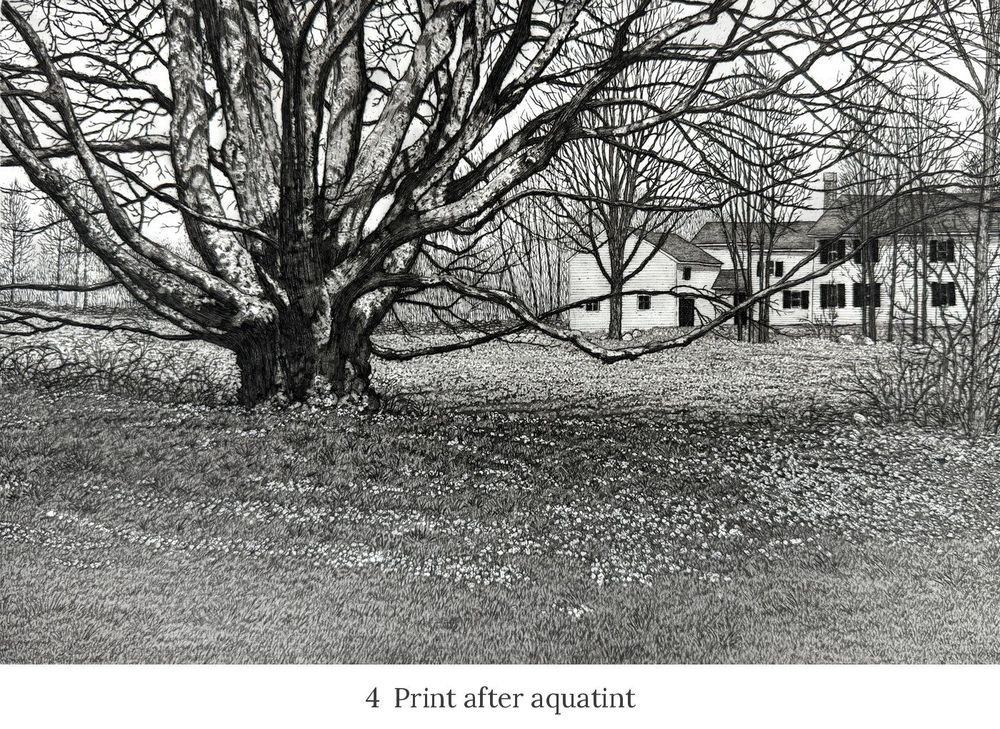
Areas to be etched were exposed to the acid for lengths of time ranging from 15 seconds to 2 minutes — for a total of 9 minutes, which yielded the darkest tone. After the aquatint etching was completed, a print was taken. I decided to lightly burnish areas of the tree and the grass. I had not yet decided on specific colors to paint the etching, but I always consider the values of the tones in the print in regard to the transparent washes of watercolor I will be painting, so the colors don't look muddy.
The Copper Plate
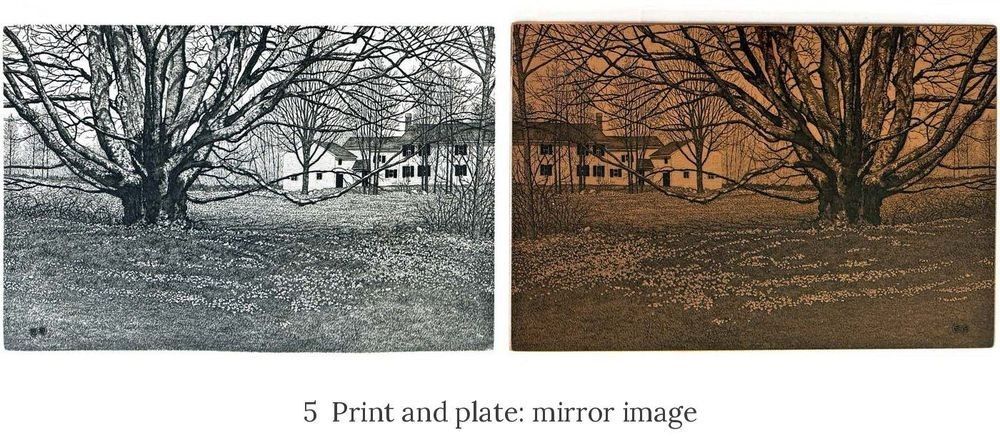
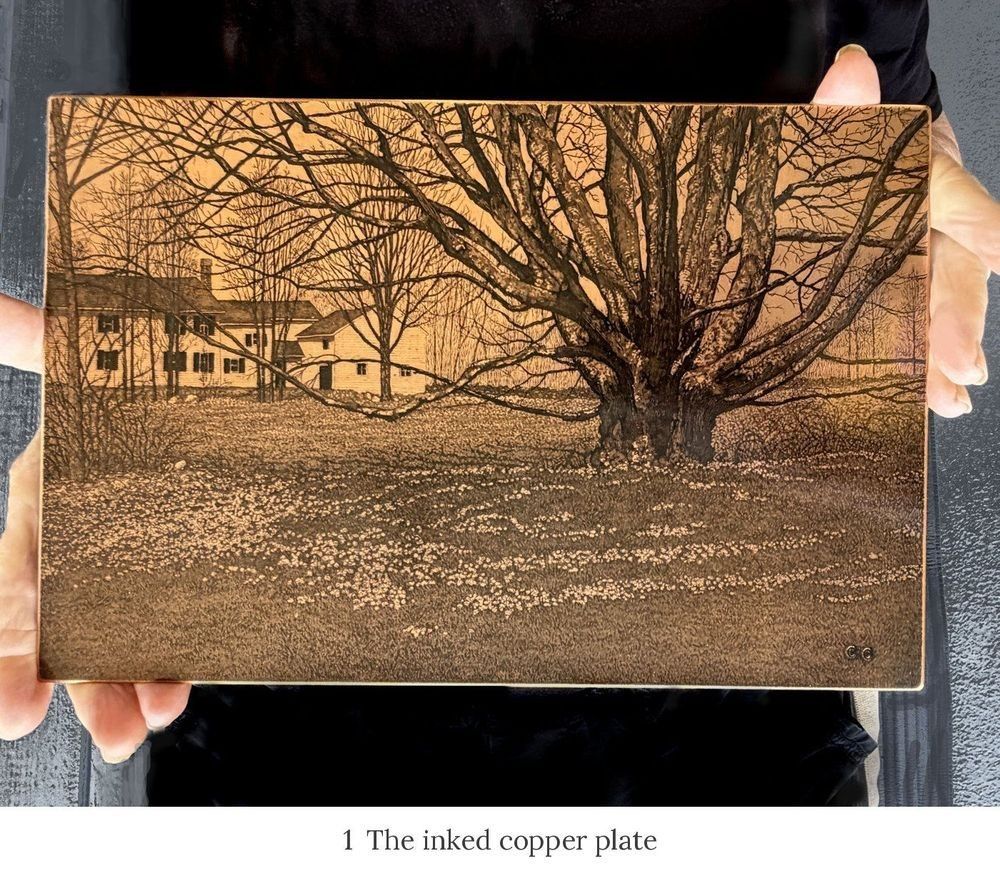
In the first photo, I'm holding the finished Blue Violets etched copper plate, inked and ready to print on the etching press. The image on the plate is reversed; it prints as a mirror image.
All etchings are prints. Not all prints are etchings.
The Finished Etching
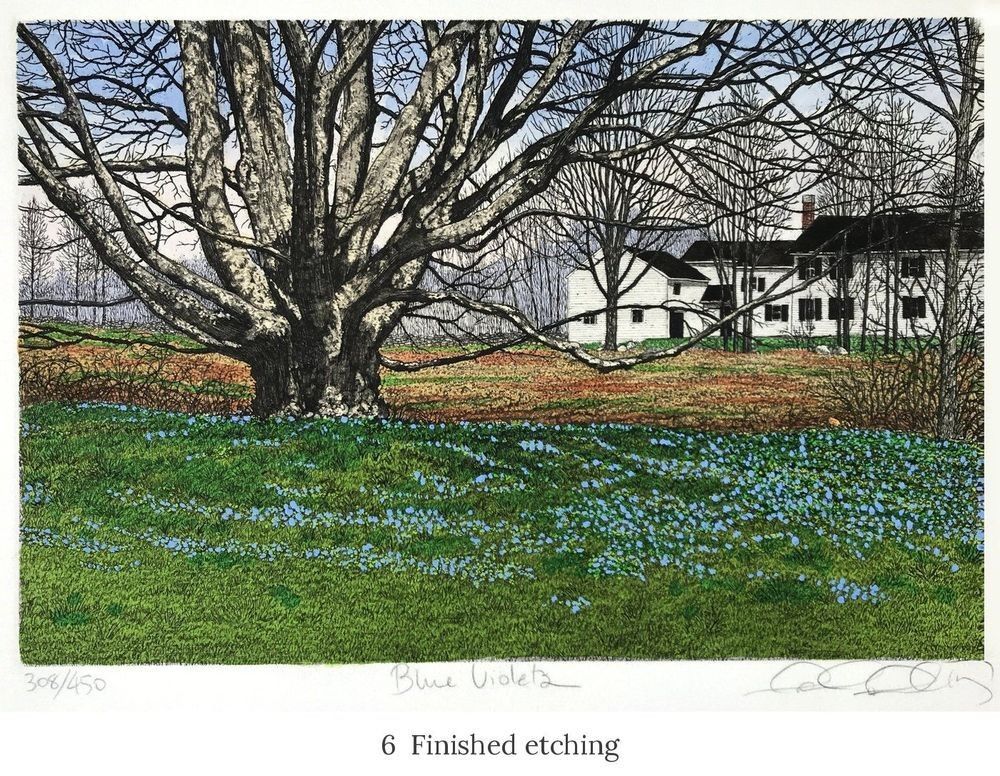
Thank you for following along with Behind the Etching.
More Behind the Etching posts: In the Mist · Pemaquid Light · August · Falling Leaves
See Blue Violets · See photos of each step in my Techniques Gallery